Hello there! It’s Kuja, and I’m excited to share a glimpse into one of our creative processes with all of you. While time constraints may limit our ability to consistently do so, I’m committed to keeping this series alive as long as there’s something valuable to showcase or teach. In today’s episode, I’ll guide you through my step-by-step process of creating an animation-ready model and preparing it for our talented animators. Get ready to dive in and discover the magic behind bringing our creations to life. Cheers!
01 – Initial Drafting
During this phase, I create rough drafts to convey the scene based on team preferences. For this scene in particular, I developed three different drafts with some variations.

02 – Selected Draft
After thorough discussion, the team chooses a final draft that offers potential for scene creation. I begin working on the selected draft, focusing on a dynamic angle. As I progress, I add colors to clearly define each element.

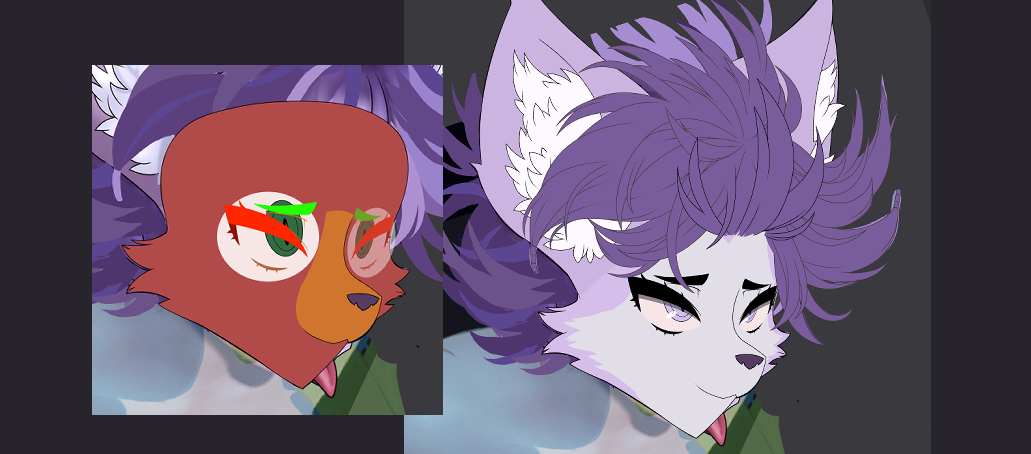
03 – Initial Lines 01
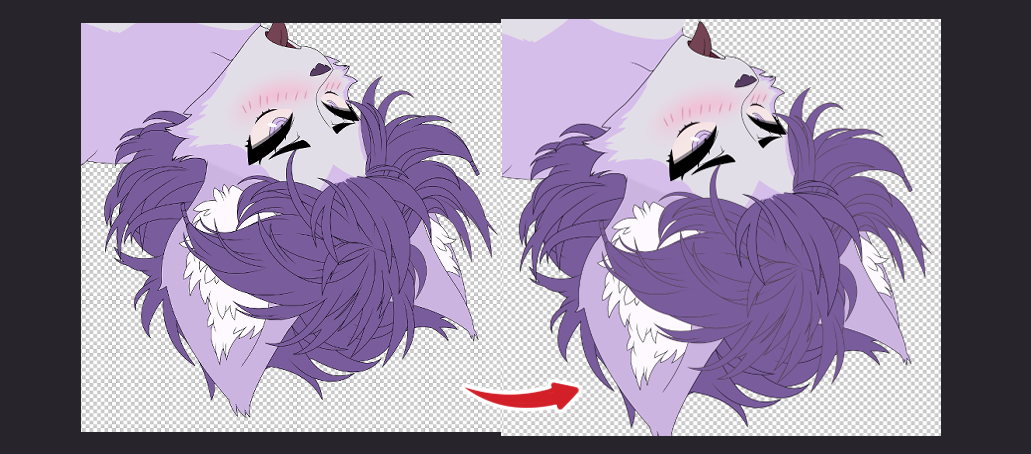
This stage involves working on the model itself, starting with Kay’s face and hairstyle. In the initial lines, I depict the entire model in a pinkish tone instead of her actual fur color (blue). This allows animators to choose any desired color within Spine without requiring additional image exports. Customization can be quite intricate.
04 – Initial Lines 02
I refine Kay’s face with more detail, using an angle familiar to the animators and emphasizing the flow of her hair. Each part is separated individually, providing animators with maximum flexibility.
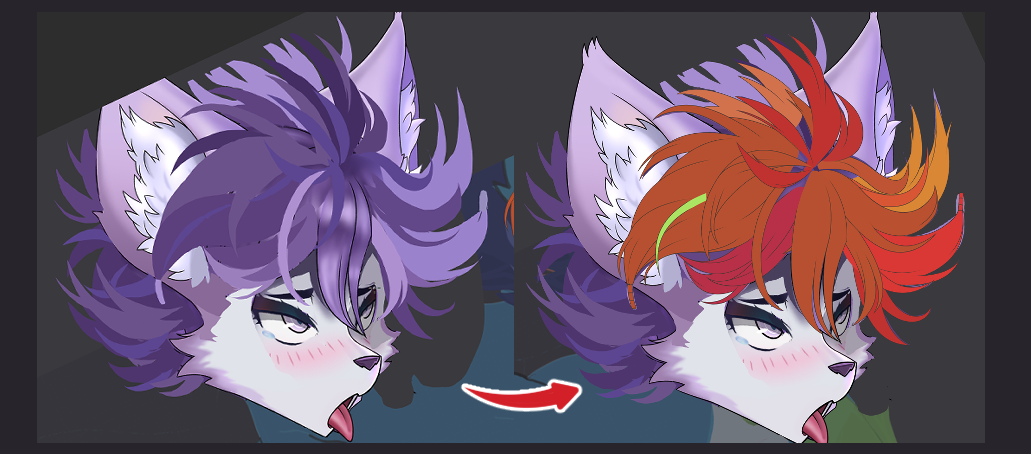
05 – Initial Lines 03
Not completely satisfied with the final hairstyle, I further enhance the flow by creating a new draft for her forehead.
06 – Face Completed
With the hairstyle in an advanced state, I proceed to work on Kay’s face. Each piece is distinctly separated by color, ensuring precise shaping. This step is crucial to ensure no pixels extend beyond their intended boundaries.
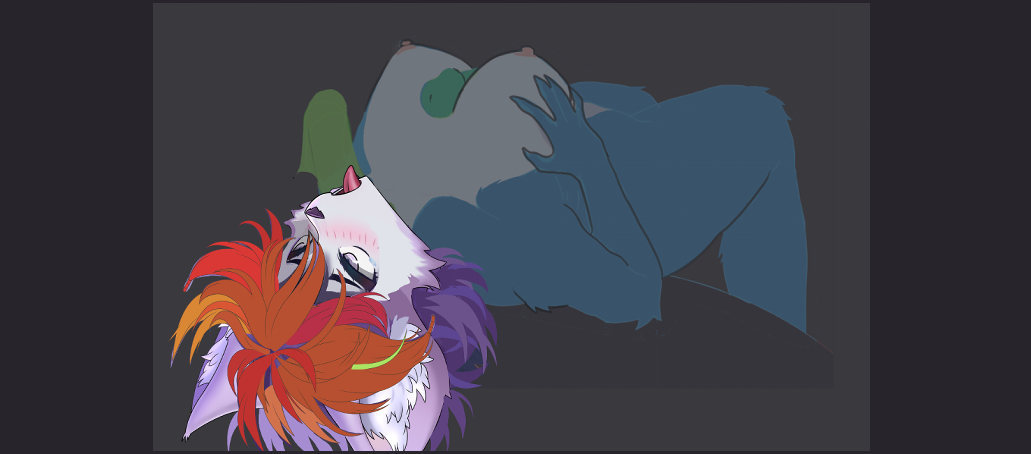
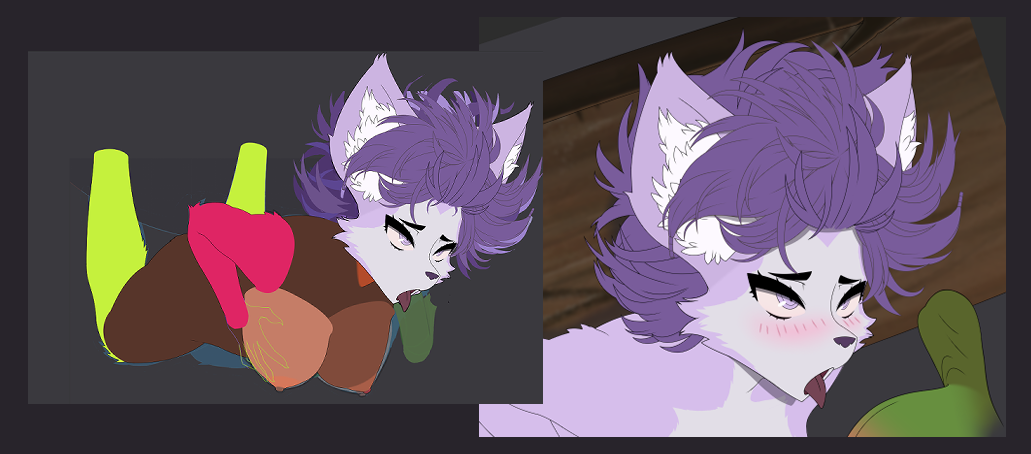
07 – Work on the Body Begins
After completing the head, I move on to working on the body parts using the same meticulous process. Each part is separated, and specific attention is given to the body joints for ease of animation.
08 – Base Completed and Additional Parts
Once the base is finalized, I shift focus to creating extra parts such as the table, lizardman appendages, and shadows.
09 – Further Part Separation if Required
After completing the base and additional parts of the model, I meticulously refine and smooth the joints, ensuring proper separation of all elements. This process demands significant effort, especially considering the multitude of individual parts in each model.
10 – Art Techniques & Details 1
Prior to selecting a lighting source and adding shading, I often adjust the coloration of certain lines and objects to achieve a smoother appearance in the final version. Incorporating tones of brown or red into the artline greatly enhances the overall visual quality.
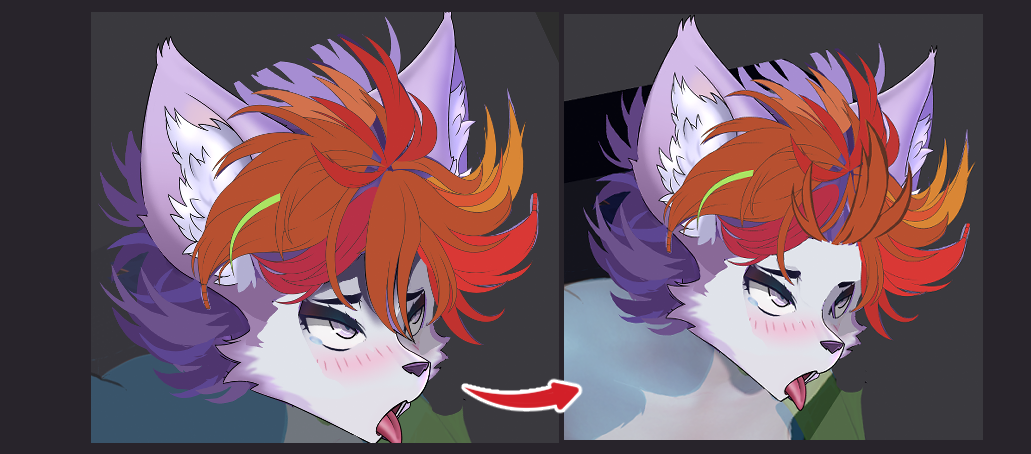
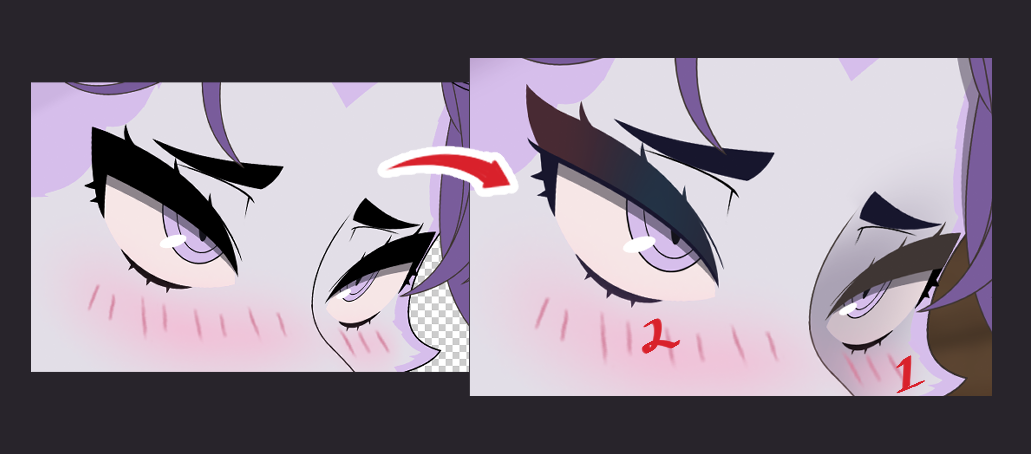
11 – Art Techniques & Details 2
A technique I particularly enjoy is adding more color detail to the eyes before working on the eyelids or iris. Typically, I incorporate tones of the original blue hairstyle into the center of the eyelashes, and shades of either skin or fur color on the edges. In this instance, I also included a touch of red to highlight Kay’s large eyes.
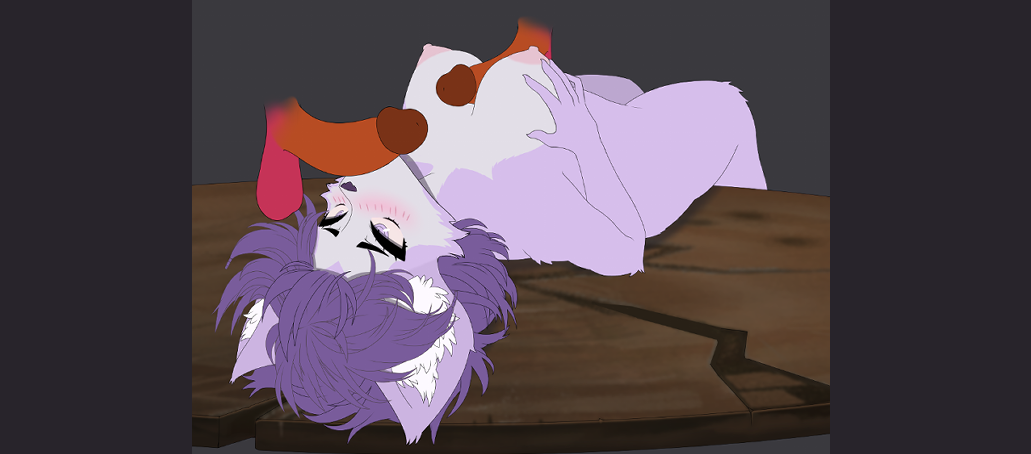
12 – Initial Shading
At this stage, I commence shading the model after completing the aforementioned processes.
13 – Further Shading & Separated Shadows
I select a realistic light source and proceed to shade the model. Shading an animation model presents challenges as each shadow piece must be separated accordingly. Compared to a pin-up illustration in the same art style, the shading here is less complex due to the extensive animation involved. The model will exhibit movement, necessitating shadows that align with each individual part.
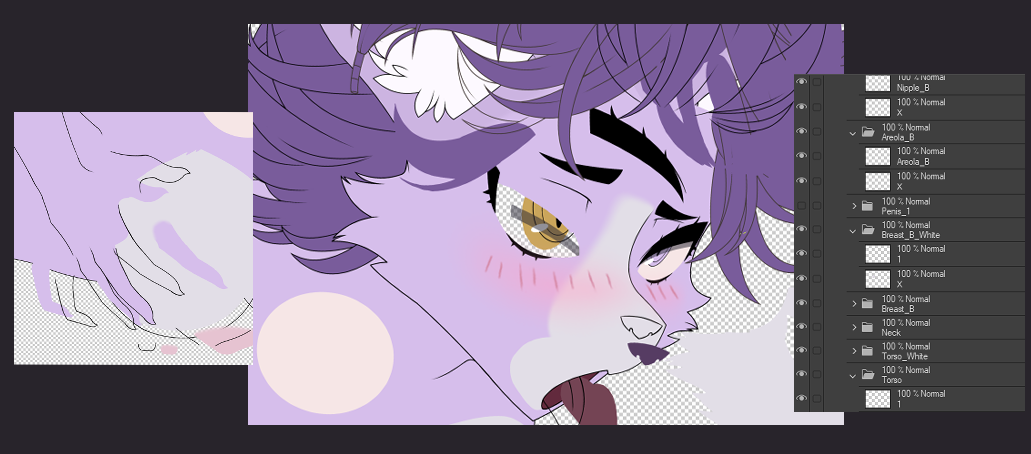
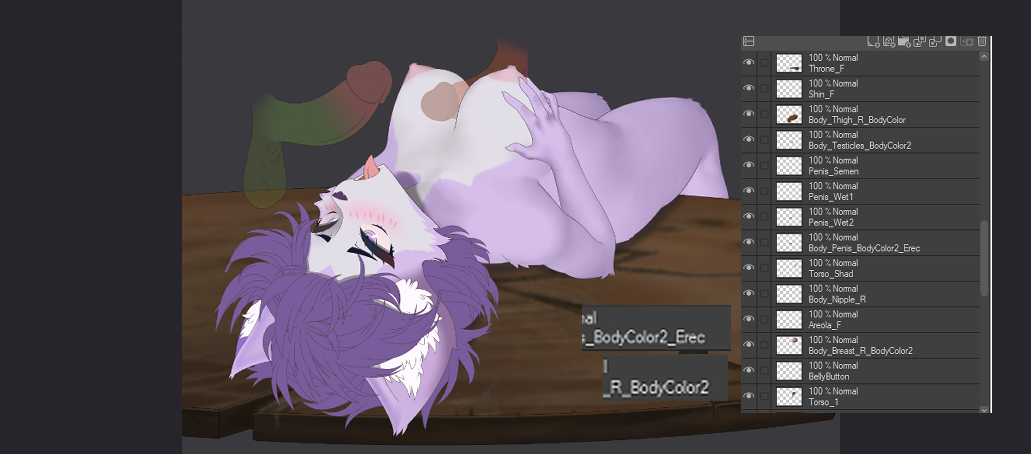
14 – Specific Layer Organization
Once shading and part completion are finalized, I merge, organize, and appropriately rename the layers to facilitate model exportation. We adhere to a specific method to ensure Spine correctly recognizes each layer, and the pink and white parts receive the correct coloration (customization). This process is meticulous and time-consuming, especially for models with numerous parts.
Part 2 coming soon! Stay tuned for more insights and knowledge on creating animation-ready models and other processes. Get ready for the next installment!